


Parts List
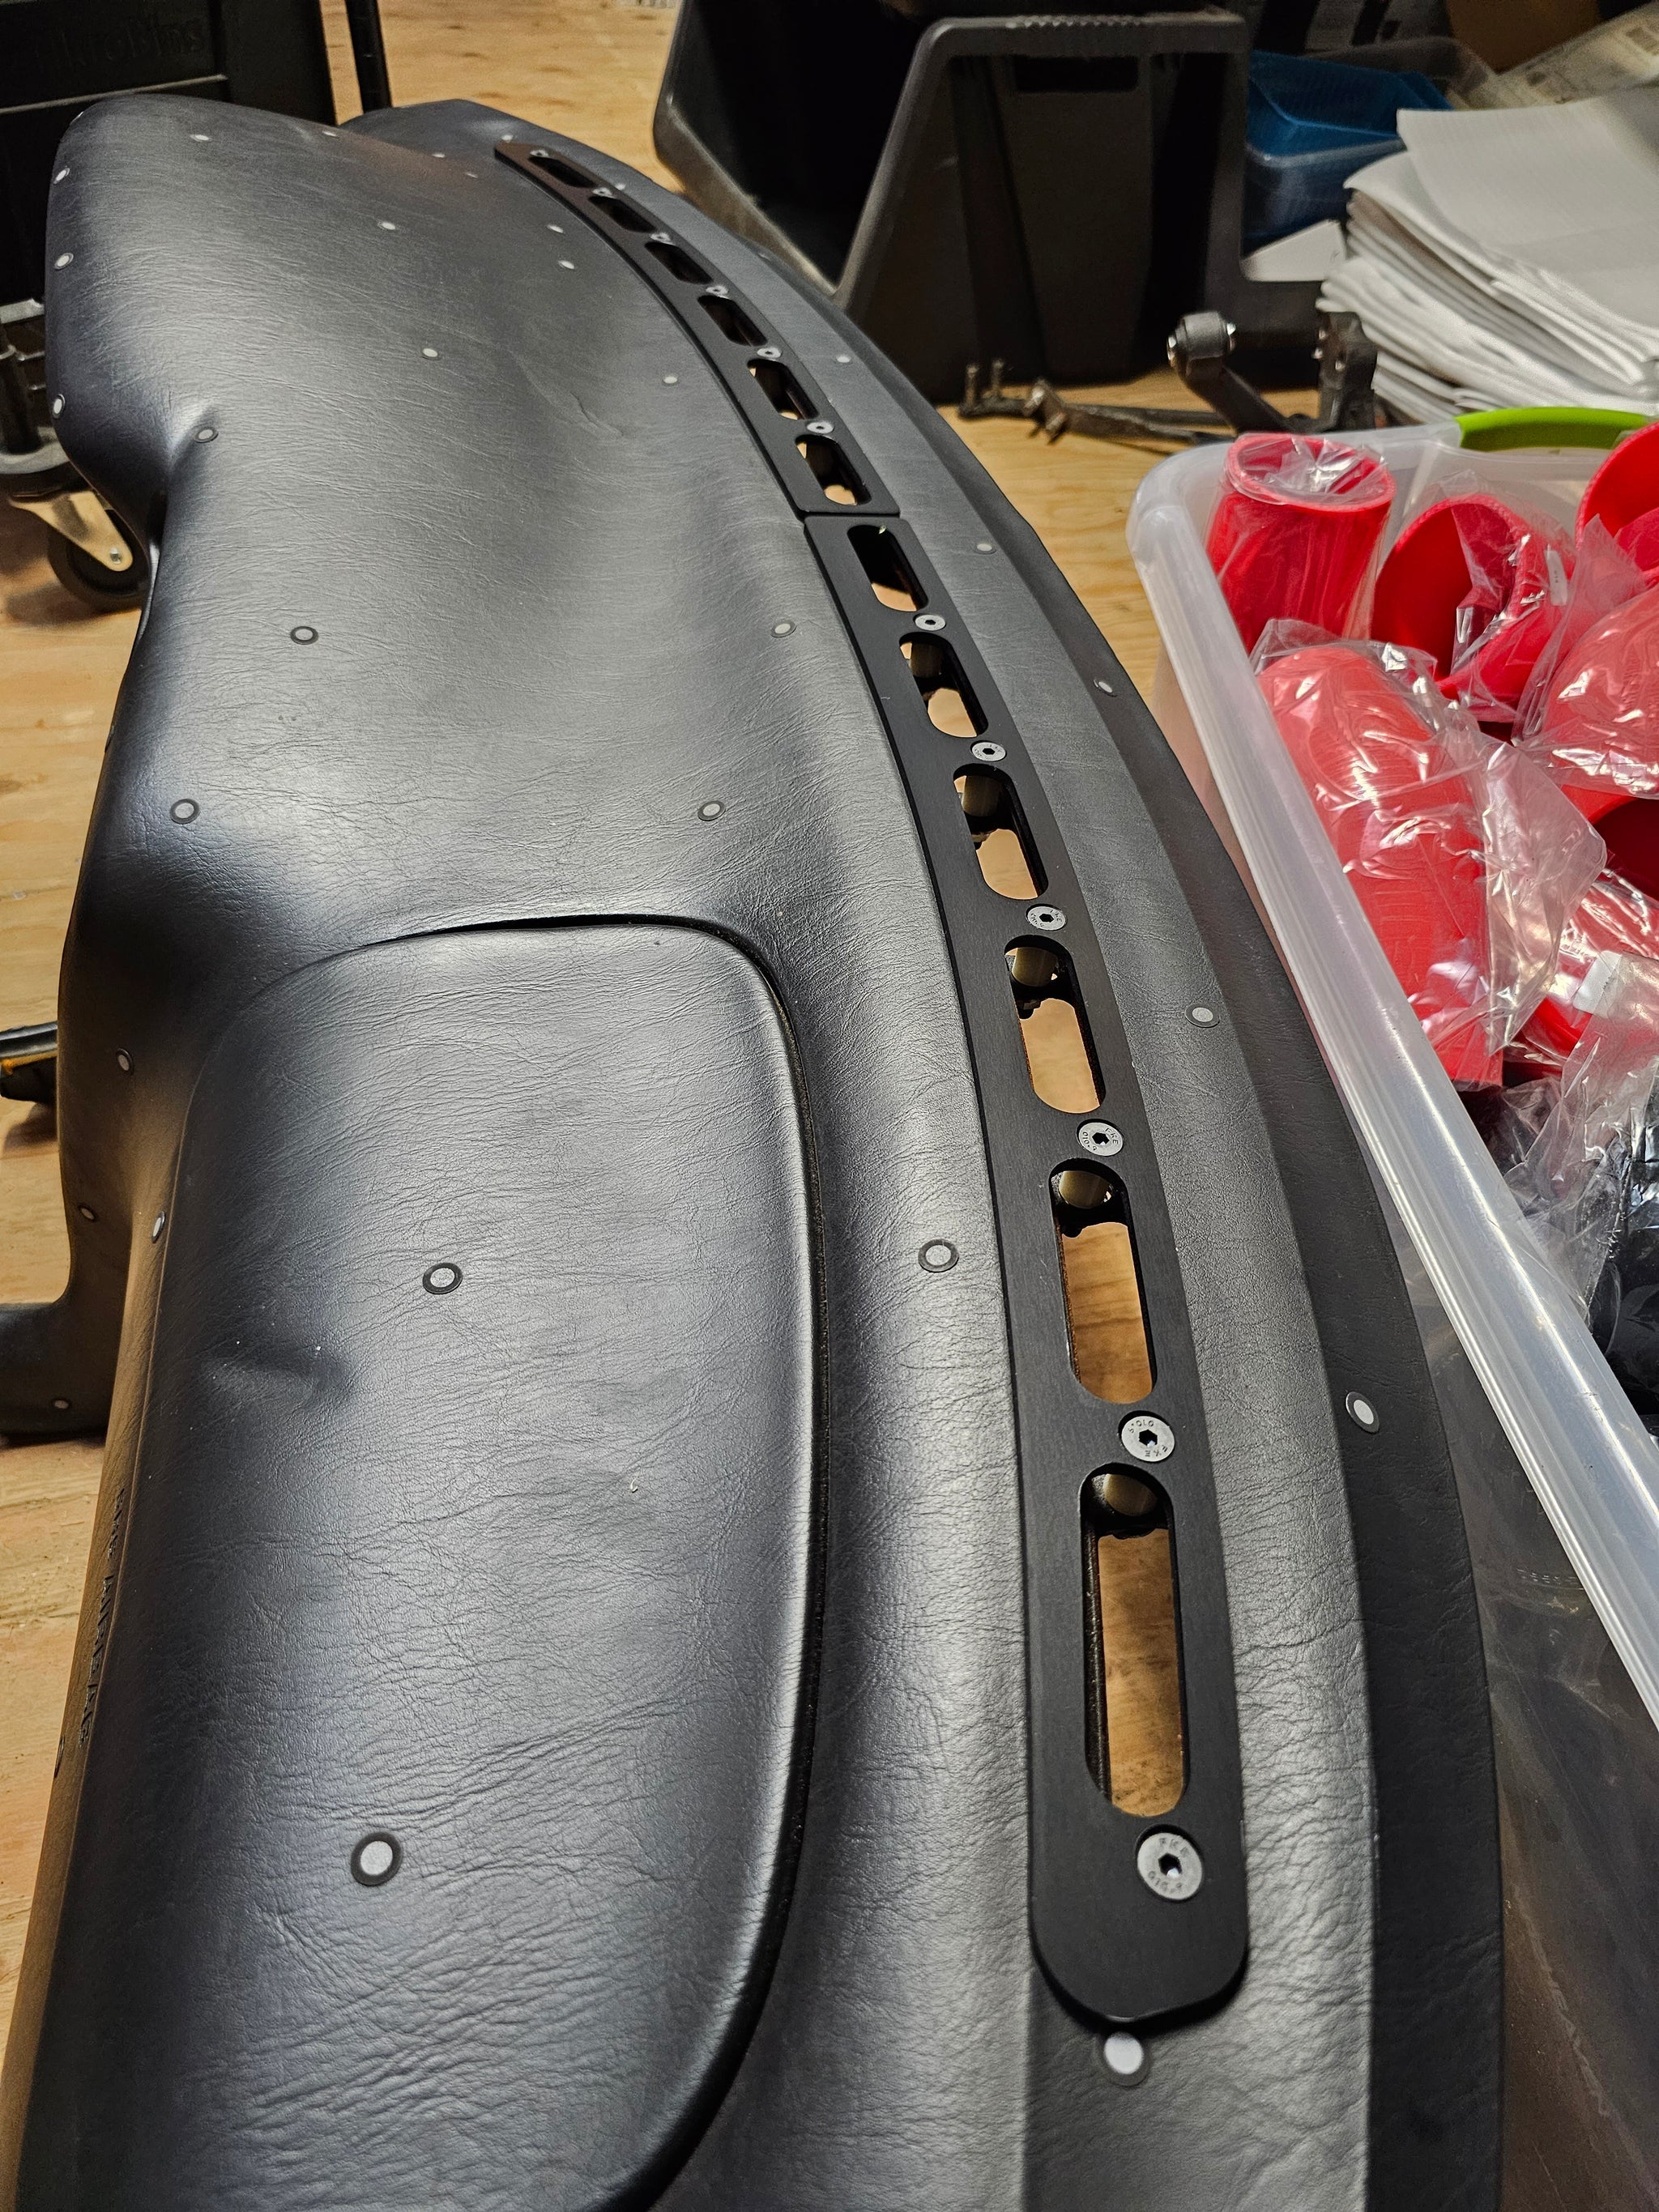
- 2 Side Specific Aluminum Dash Vents (1 left side, 1 right side)
- 4x Short Nylon Spacers (used for the very ends of the vents)
- 8x Long Nylon Spacers
- 12x Countersunk M6x1.0 screws
- 12x M6 Lock nuts
- 12x 1/4" washers
Optional (Sold seperately at your local hardware store)
- Some gorilla glue or epoxy if your dash is severely lifted
- Some spray paint if you do not like the look of faded anodized parts (will turn into a goldish color) after a few years from now (All anodized parts will fade eventually with sunlight, these vents are rated for 2 years of resistance)
Installation Instructions
- Unfortunately the dash must come off to properly repair and install this kit. Fortunately, the dash isn't that difficult to remove with online video instructions. Please refer to any of the countless dash removal YouTube videos for step by step instructions on how to remove dash. https://www.youtube.com/results?search_query=mr2+dash+removal
- With the dash removed, place it over your couch or bed floor with carpet, something with a soft surface. Be careful of the middle area where the radio trim is, that area can break rather easily
- Remove old plastic vents with a flat head screw driver
- Flip the dashboard over, remove the large air diverting tube assembly that runs along under the vents that is held on by Philip screws.
- Clear out any left over debris. There may be some undrilled tabs on your dash vent area that would require drilling so the M6 countersunk screw can pass through, drill those now. Can look at other tabs for reference as to where you need to drill
- Test fit and adjust if needed with supplied hardware
- If your dash is severely lifted, you may need to install and reinstall vents to test how things work out as well as apply glue/epoxy underneath the dash to keep the dash from backing out over time/prevent material memory from wanting to lift back out after the vents are installed.
- Install air diverter tube assembly back on underside of dashboard with Philip screws. Check for any interference, check for sealing, check for M6 screw hardware if there is contact with any areas
- Reinstall dashboard onto car and enjoy!
If you have any questions, please feel free to reach out!
-MR2 Heaven