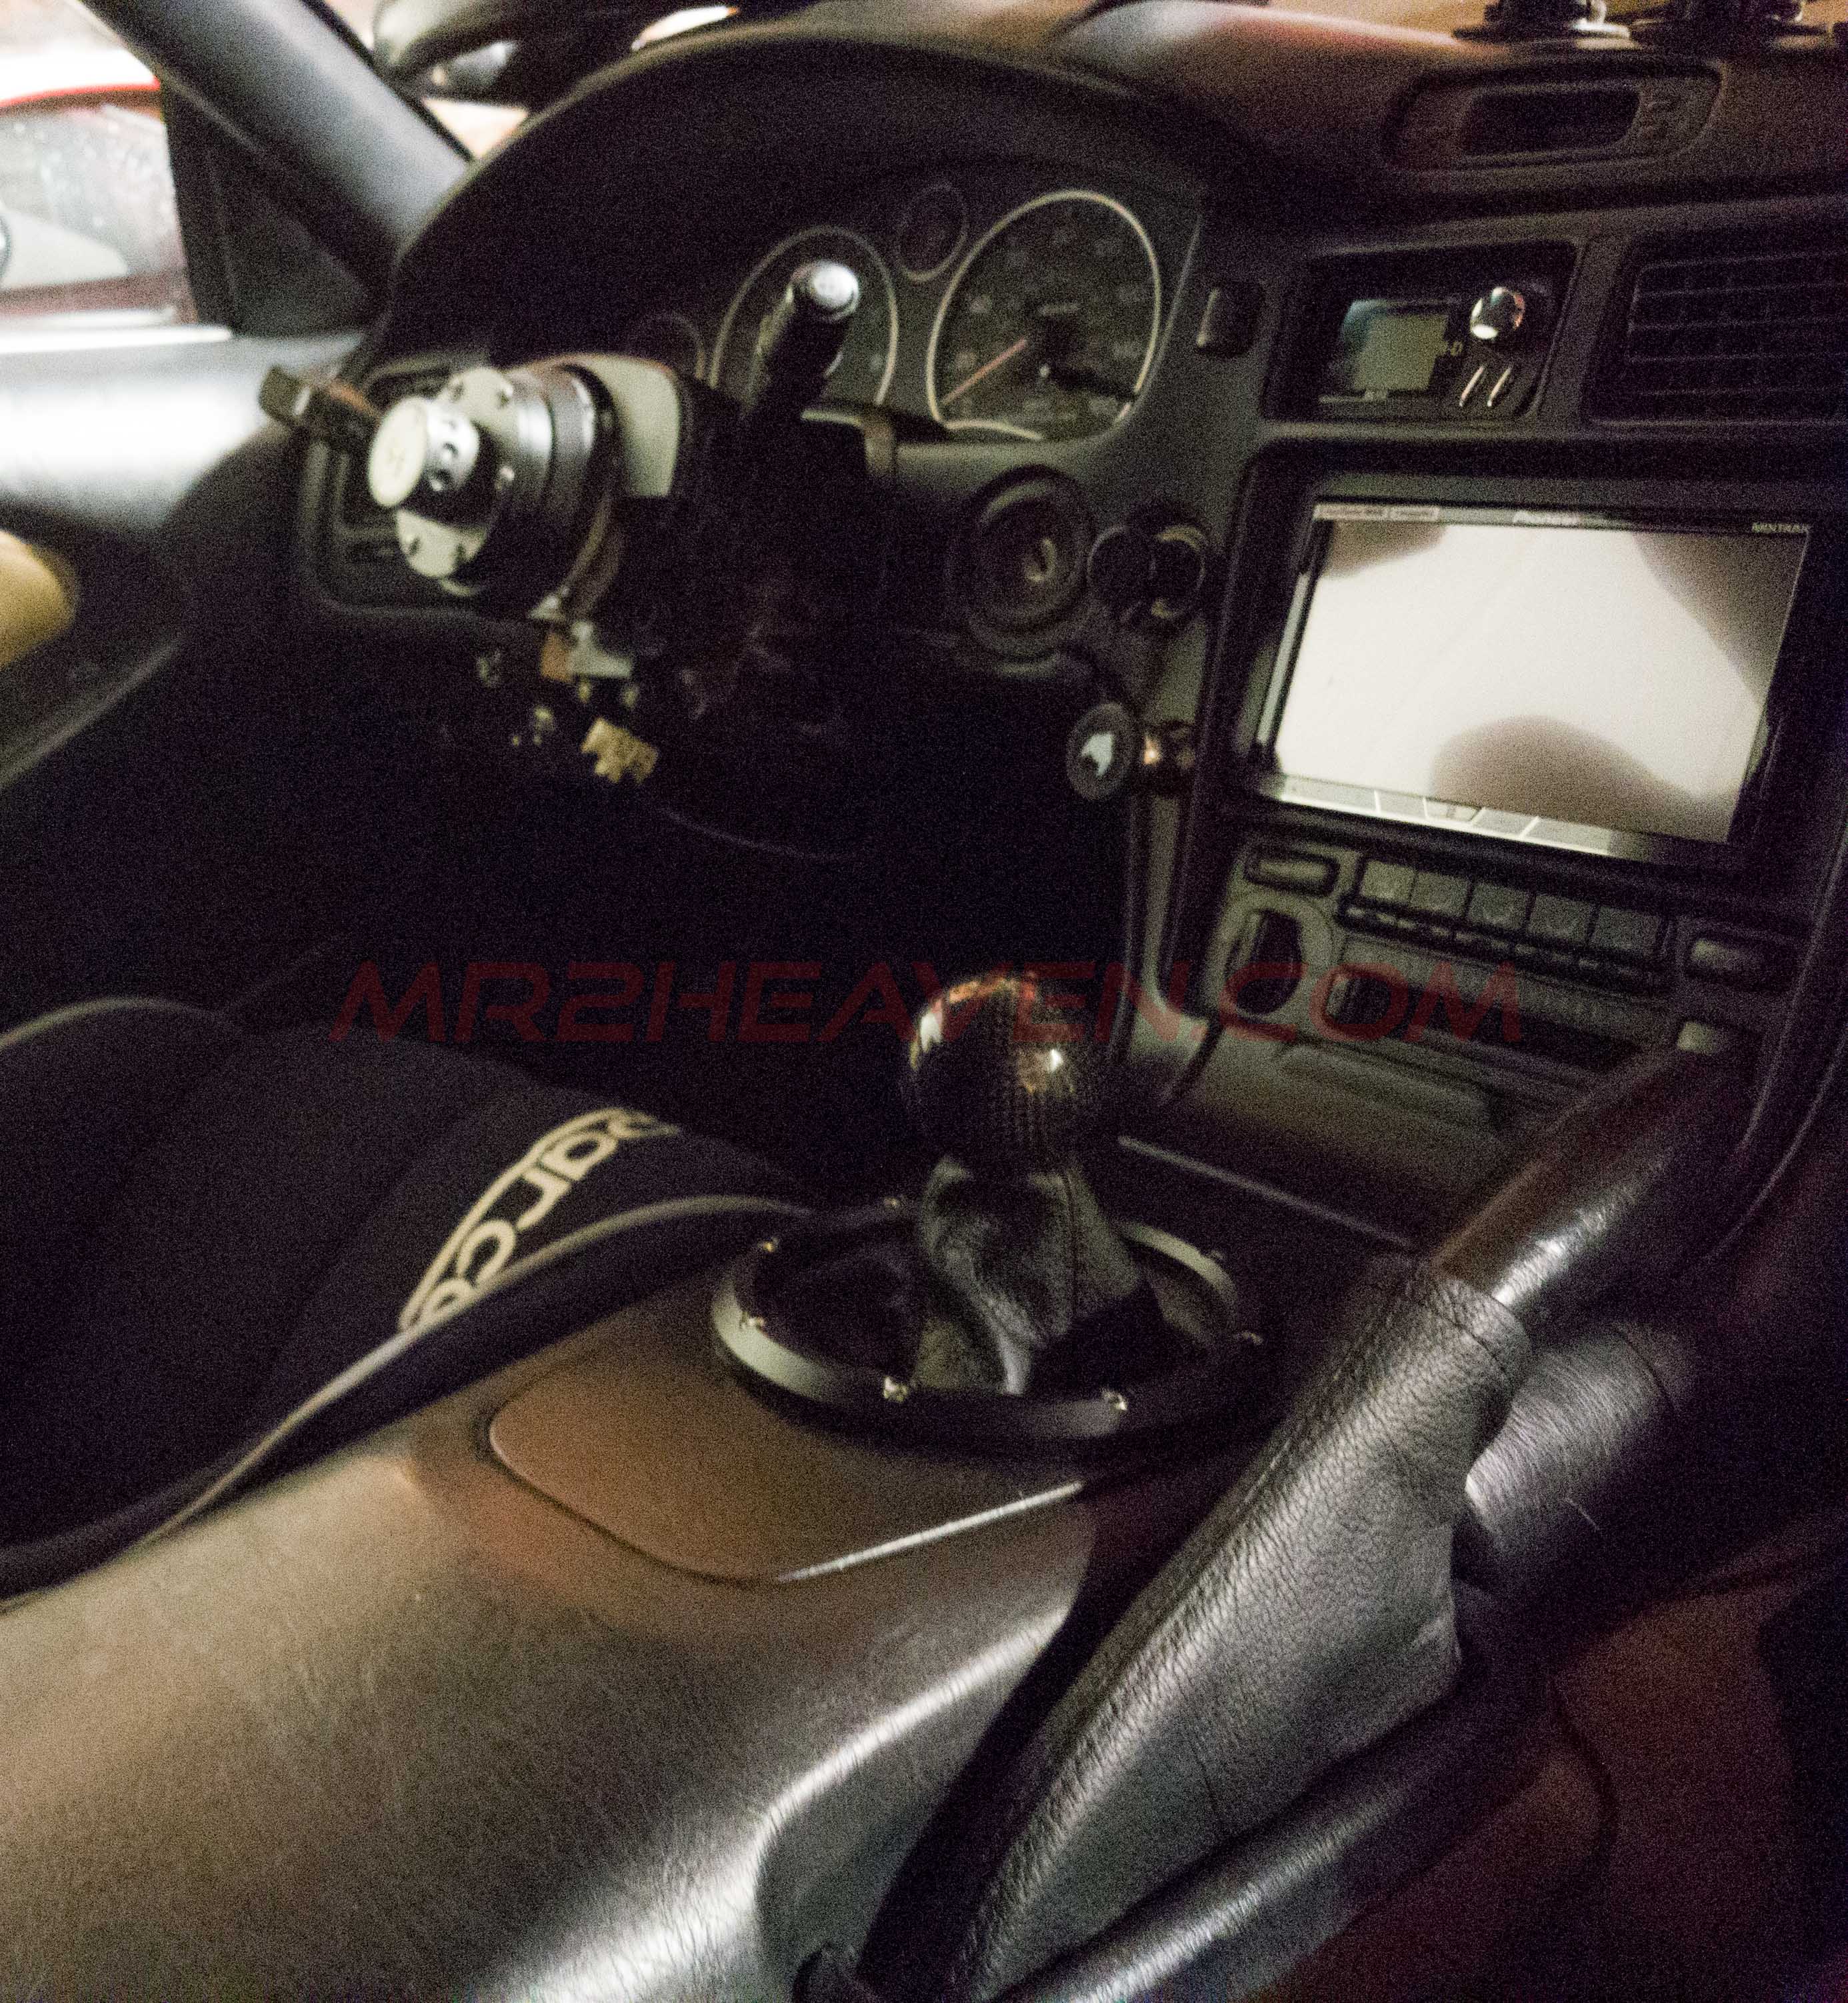
Thank you for your purchase! Every purchase made helps us create, design and refine our products for everyone in the community. Without your help and support we would not be able to make these projects a reality.
Note: When removing your stock or MR2heaven trim, please do not pull the unit from the leather boot itself but rather try to pull from under the ring/trim. Pull around the front left clip, then move to the right. Lastly, repeat the steps for the left and right rear 2 clips. By pulling on the boot itself, you risk the chance of ripping the boot and damaging your new trim.
1.) Fold the top of the shift boot inwards. Cut the tip of the leather to the bare minimum to allow the material/tip of the shift boot to fold inwards. Attach the boot to the ring and roughly install the 8 screws by sticking it through the ring and boot (DO NOT THREAD ON ANY NUTS AT THIS POINT...) Align the boot with one of the 3 stripes facing 12 o clock, 4 & 8 o clock to correctly orient the boot. For the 5 o clock position screw circled in green, please use the shortest one provided. By completing this step, it allows for a smoother installation as the screws will help hold and line everything up. Note, type 3 and 4 rings are a bit more difficult to install due to their holeless nature.

2.) Install the assembled component (from step one) onto the main trim (Make sure you line everything up correctly. The 5 o clock direction screw should be placed/located on the recessed part of the underside of plastic trim. While installing the washers and nuts, you can pull lightly on the boot to hide excess boot material from sticking pass the rings for a cleaner look. Remember, do not use any tools to tighten the trim except a 7mm socket. ALWAYS use your hands only, no ratchets etc!! Be extra careful around the 5 o clock area. DO NOT OVERTIGHTEN any of the bolts/nuts! Looser is better than super tight...

3.) Remove the existing 4 mounting clips from your old trim with a flat tool or the sharp tip of a knife. Pry the middle portion of the embedded clip and slide it off upwards. Install the clips onto the new tirm.

Please don’t forget to leave us feedback or give us a shout out on any of the Facebook MR2 pages/forums etc. It helps us grow and is very important to us.
We really hope you like our products as much as we do and look forward to bringing you many more new and exciting products in 2018!
If for some reason you encounter an issue or problem with any of our products, please don’t hesitate to get in contact with us so we can do our best to help you out.
Email: Sales@mr2heaven.com
Thank you again for your business and support
Enjoy!
-MR2 Heaven
Known compability issues:
- For J0no short shifter with 93+ lever, may need to grind the trim with a Dremel or hand file at the area shown below.
 .
. 
- For TRD shifters/Hybrid All In One on MR2Heaven Agressive shift setting (WITHOUT drop plate installed), MAY need to grind here. Also if you encounter any issues hitting the rings, highly recommend swapping to our TYPE 3/4 rings as they are thinner and shorter than the type 1-2 styled rings.


Common fitment issues
- If your trim becomes warped (concaved) after you install the ring, it means you have tightened the hardware too much, loosen it up a bit and the trim will flatten itself. The reason for this is that the trim is not flat, it has curved surfaces around the ring and the boot is intended to act as a flexible membrane/sandwich or middle layer so that the ring will not touch the trim. The leather boot in the middle will give the bolts staying power so that it would not loosen easily. Nonetheless, mainly loosen up your hardware will return the trim to its original shape.
- If your trim is popping upwards near the middle more than in our pictures or other customers installs, it means your boot might have been installed under the trim when supposed to be in middle of ring and trim (Ring has a recessed part to tuck the boot in) or likely overtightened hardware causing the concaved appearance in the middle of the trim.
- If you are encountering fitment issues, such as trim popping up in certain places, a common place to look is at the arm rest, particularly the 4 ports where the 4 legs of the halo trim snaps into. What usually happens is there are small variances in the OEM arm rest ports (eg, some mr2s have more wear and tear, more wiggle room than others for the trim to bolt in, factory manufacture variations). What ends up happening, is that the trim could get stretched or compressed by the ports (via the securely attached legs...) and ends up in a concave or convex shape in the middle of the trim. If you experience this issue, trimming slightly/slowly at the 4 ports on the arm rest with a hand file, one could improve fitment considerably.
- Another fitment issue we sometimes have seen is the screw or nut (depending on which ring type purchased), the nut or screw can interfere with the bottom of the arm rest. If that is the case, one can opt to remove the affected piece to improve fitment.
- Properly bolting in the arm rest with the 4 Philip screws and having the OEM plastic arm rest support plastic trim properly installed near the ashtray also helps remedy most shifter cable interference with the underside of the trim
- The trim is designed to be interference free with rather tight tolerences. If you are encountering any interference on shifting, such as the shifter cables interfearing, please check to make sure you have correctly bolted in the arm rest and installed the front bottom armrest support bracket. Some shift knobs in rare cases, depending on knob design might touch the ring with the lower B&M/Ebay/fidanza type shifters in certain gears such as 2nd 5th or reverse, but should still be able to fully function and shift.
- Also check to make sure the boot is IN BETWEEN the ring and shifter trim. Not underneath.
- Lastly, if none of those easy fixes work, and the trim is still bowing up, you may have to remove your arm rest and look underneath for possible fitment issues.

There is also an adjustment point here to center the shifter slightly if you encounter any interference with the shifter and the ring.

If you are still having issues, please send us an email so we can better assist you


 .
. 


